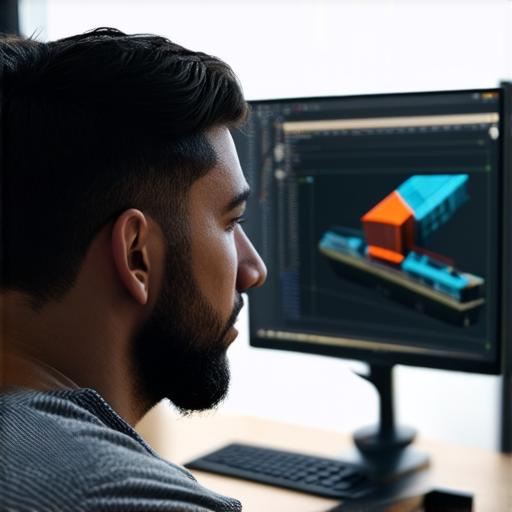
Unity is a powerful game engine that allows developers to create interactive 3D experiences with ease. One of the key features of Unity is its ability to import 3D models from various sources, such as Blender and Maya. In this article, we will explore how to import a 3D model into Unity using the Unity Editor.
Why Import 3D Models into Unity?
Importing 3D models into Unity allows developers to create more complex and realistic environments, characters, and objects. With a wide range of 3D modeling software available, there are countless possibilities for creating unique assets that can be easily integrated into a Unity project. Additionally, importing pre-made 3D models can save time and resources, allowing developers to focus on other aspects of their project.
How to Import a 3D Model into Unity
- Open Unity and create a new project or open an existing one.
- In the Project window, right-click and select Import Package or Asset.
- Navigate to the folder where your 3D model is located and select it. You can also import multiple files at once by selecting them all and clicking Open.
- Once the file has been imported, you will see a new asset in the Project window with the same name as the file.
- Drag the asset onto the Scene view to add it to the scene.
- You can now interact with the 3D model by selecting and manipulating it using the tools available in the Unity Editor.

Tips for Importing 3D Models into Unity
Make sure your 3D model is compatible with Unity by checking the file format and version requirements. Common file formats include .obj, .fbx, and .dae.
Check the scale of your 3D model before importing it into Unity. If the model is too large or small, it may not display correctly in the scene. You can adjust the scale using the Transform component.
Import only the necessary files for your project to reduce file size and improve performance. You can use tools like Blender’s Export Settings to select specific parts of a 3D model to export.
Use Unity’s importer settings to customize how the 3D model is imported into the engine. For example, you can set the material and lighting for the object, or enable animations and collisions.
Real-Life Example: Importing a 3D Model into Unity
- Open Blender and create a new scene.
- Add a cube to the scene by selecting Add > Mesh Object > Cube.
- Click on the cube to select it and then go to File > Export Settings.
- In the Export Settings window, select .obj as the file format and make sure that the checkbox next to “Selected to export” is checked.
- Click on the “Apply” button to save the file.
- Open Unity and create a new project or open an existing one.
- In the Project window, right-click and select Import Package or Asset.
- Navigate to the folder where the .obj file is located and select it.
- Once the file has been imported, you will see a new asset in the Project window with the same name as the file.
- Drag the asset onto the Scene view to add it to the scene.
- You can now interact with the cube by selecting and manipulating it using the tools available in the Unity Editor.

