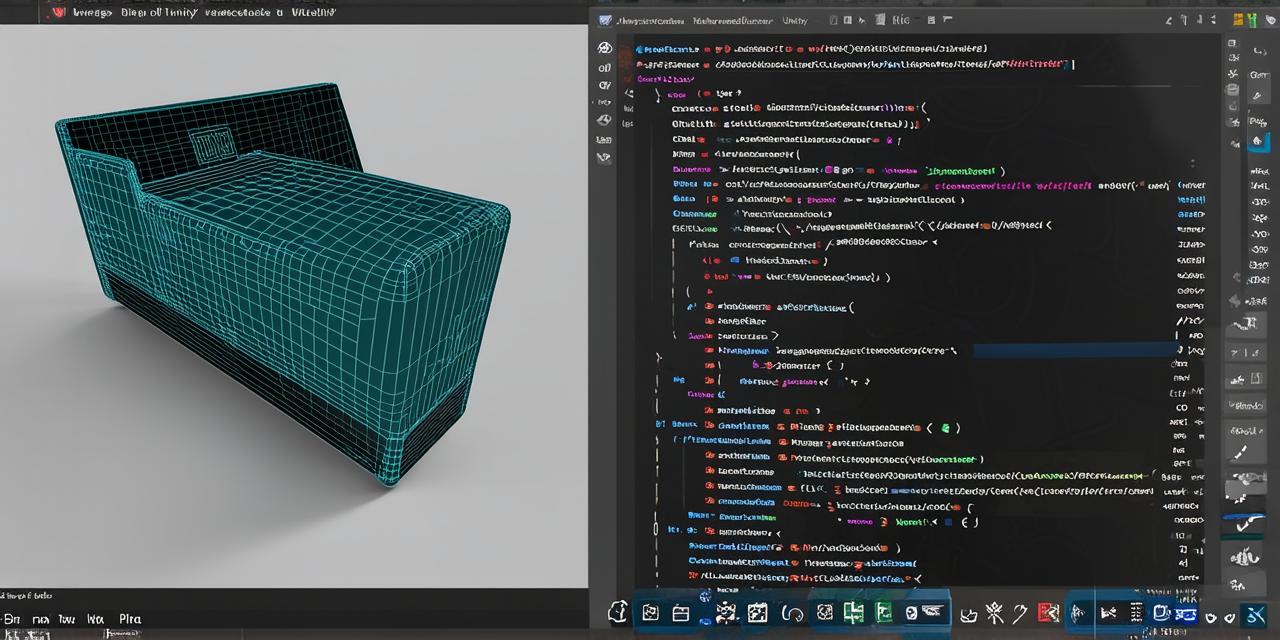
Importing a 3D Model into Unity: A Comprehensive Guide
As an avid developer of virtual reality (VR) and augmented reality (AR) applications, you’ve likely come across the need to import a 3D model into Unity at some point in your development process. Whether it’s for creating a new character, adding environmental details, or even simply testing out a pre-made asset, importing a 3D model can greatly enhance the visual appeal and functionality of your application.
Prerequisites
Before diving into the steps for importing a 3D model into Unity, it’s important to make sure you have the necessary software and tools installed on your computer. Here are the requirements:
- A computer with at least 4GB of RAM and a dual-core processor
- The latest version of Unity (currently version 2019.3)
- A compatible 3D modeling software, such as Blender or Maya
Step 1: Prepare the 3D Model
The first step in importing a 3D model into Unity is to prepare it for use. This involves ensuring that the model is properly exported from your chosen 3D modeling software and optimized for use in Unity. Here are some best practices to follow:

- Export the 3D model in a format that is compatible with Unity, such as .obj or .fbx.
- Make sure the model has no unnecessary vertices or edges, as this can cause performance issues in Unity.
- If your model has any animations or materials, make sure they are properly exported and applied to the model.
- Consider reducing the polygon count of the model if it’s very detailed, as this can improve performance in Unity.
Step 2: Import the 3D Model into Unity
Once your 3D model is prepared, you can import it into Unity using the following steps:
- Open Unity and create a new project or select an existing one.
- Go to Assets > Import Package > Custom Package.
- Navigate to the folder where your 3D model file is located and select it.
- Click on Import to import the model into Unity.
Step 3: Assign Materials and Textures
After importing the 3D model, you’ll need to assign materials and textures to it in order to give it a realistic appearance. Here are the steps to follow:
- Select the 3D model in the Hierarchy view.
- Go to Inspector > Material.
- Click on Add Material to create a new material for your model.
- In the Material window, you can add textures and adjust various settings to customize the appearance of your model.
- Assign the material to the 3D model by dragging it from the Materials folder onto the model in the Hierarchy view.
Step 4: Add Animations
If your 3D model has animations, you can add them to Unity using the following steps:
- Select the 3D model in the Hierarchy view.
- Go to Animation > Create Animation Clip.
- In the Animation window, you can import the animation data from your 3D modeling software and assign it to the model.
- You can also adjust various settings, such as frame rates and looping, to customize the behavior of the animation.
Step 5: Optimize Performance
As mentioned earlier, importing a 3D model into Unity can have an impact on performance, especially if the model is very detailed or has many animations. Here are some tips for optimizing performance:
- Reduce the polygon count of the model by using tools like the decimation modifier in Blender or Maya.
- Use LOD (Level of Detail) to reduce the level of detail of the model when it’s far away from the camera.
- Use textures efficiently by compressing them and reducing their resolution.
- Optimize your code by minimizing unnecessary calculations and using efficient data structures.
Common Issues and How to Troubleshoot Them
While importing a 3D model into Unity is generally a straightforward process, there are some common issues that you may encounter. Here are some troubleshooting tips:
- If the model appears distorted or misaligned, make sure it’s properly oriented and scaled in your 3D modeling software before importing it into Unity.
- If the model is not appearing in Unity, check that it has been correctly imported and that its file path is correct.
- If the material or texture is not applying to the model, make sure it’s properly assigned in the Inspector window.
- If the animation is not playing properly, check that the animation data has been imported correctly and that the frame rates are set correctly.
FAQs
Here are some frequently asked questions:
What file formats can I use to import a 3D model into Unity?
Unity supports a variety of file formats for importing 3D models, including .obj, .fbx, .dae, and more.
How do I reduce the polygon count of my 3D model?
You can use tools like the decimation modifier in Blender or Maya to reduce the polygon count of your model.
What is LOD and how does it work?
LOD (Level of Detail) is a technique for reducing the level of detail of a 3D model when it’s far away from the camera, which can improve performance in Unity.
Summary
Importing a 3D model into Unity can greatly enhance the visual appeal and functionality of your virtual reality or augmented reality application. By following best practices for preparing the model, importing it into Unity, assigning materials and textures, adding animations, and optimizing performance, you can create a seamless and immersive experience for your users. And with our comprehensive guide, you’ll have everything you need to know to get started on this exciting journey.

