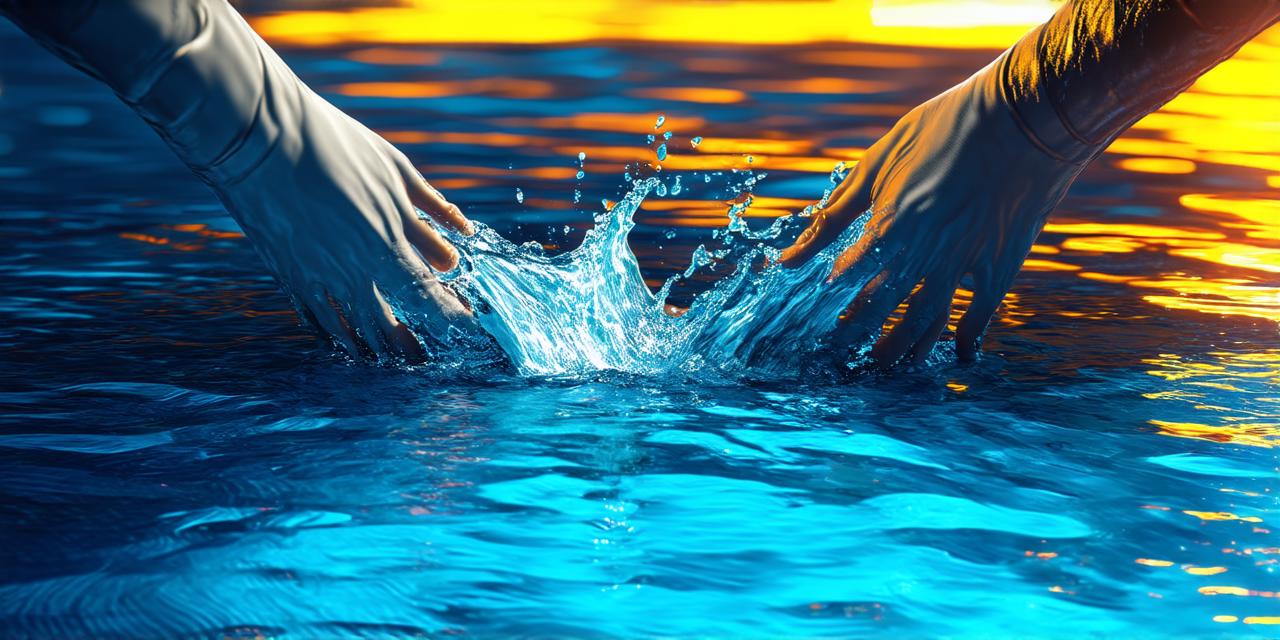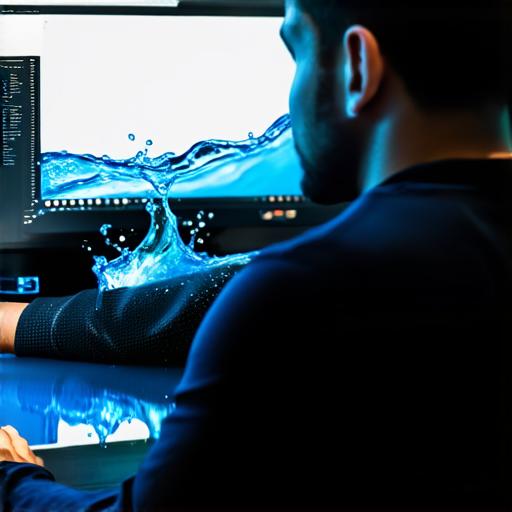
The Basics of Water Creation in Unity 3D
Before diving into the specifics of creating water in Unity 3D, it’s important to understand the basics of how it works. At its core, water is simply a collection of particles moving and interacting with each other in a way that creates a smooth, flowing surface. In Unity, you can create water by manipulating these particles using various tools and techniques.
One of the most common methods for creating water in Unity is to use a shader. A shader is a material that determines how objects in your scene are rendered, including their color, texture, and transparency. By creating a custom shader specifically designed for water, you can achieve realistic, flowing effects without having to rely on complex particle systems or other advanced techniques.
Another popular method for creating water in Unity is to use the built-in “Water” asset. This asset includes a variety of features and options that make it easy to create realistic water effects, including surface tension, reflections, and splashes. However, it’s important to note that this asset requires a subscription to the Unity Asset Store, so if you don’t have access to it, you may need to look elsewhere for your water creation needs.
Creating Water Using Particle Systems
While shaders and built-in assets are great options for creating basic water effects in Unity, particle systems can be a powerful tool for achieving more advanced and realistic water effects. A particle system is a collection of particles that move and interact with each other to create visual effects such as explosions, fire, and smoke. In the case of water, you can use a particle system to simulate the movement and interaction of individual water droplets, creating a flowing, dynamic effect.
To create water using a particle system in Unity, you’ll need to start by setting up the system itself. This involves creating a new particle system object in your scene, and then adjusting its settings to control things like speed, direction, and size. You’ll also need to add one or more emitters to the particle system, which are points where particles will be emitted from. For water, you can use an emitter to create a continuous flow of particles along the surface of the water.
Once you have your particle system set up, you can further customize it to achieve specific effects. For example, you might want to add turbulence to the water to simulate waves or currents, or you could use gravity to make the water flow in a particular direction. You could also add material properties to the particles themselves, such as transparency and reflectivity, to further enhance the realism of the water effect.

Creating Water Using Fluid Dynamics
While particle systems are a great option for creating basic water effects, they can be limited when it comes to achieving truly realistic and dynamic water behavior. That’s where fluid dynamics come in. Fluid dynamics is a complex field that involves the study of the behavior of fluids (such as water) under various conditions, including pressure, temperature, and viscosity. In Unity, you can use fluid dynamics simulations to create incredibly realistic water effects, including things like splashes, waves, and currents.
To create water using fluid dynamics in Unity, you’ll need to start by setting up a fluid simulation object in your scene. This involves creating a new object with the “Fluid” component, which will handle the simulation itself.

