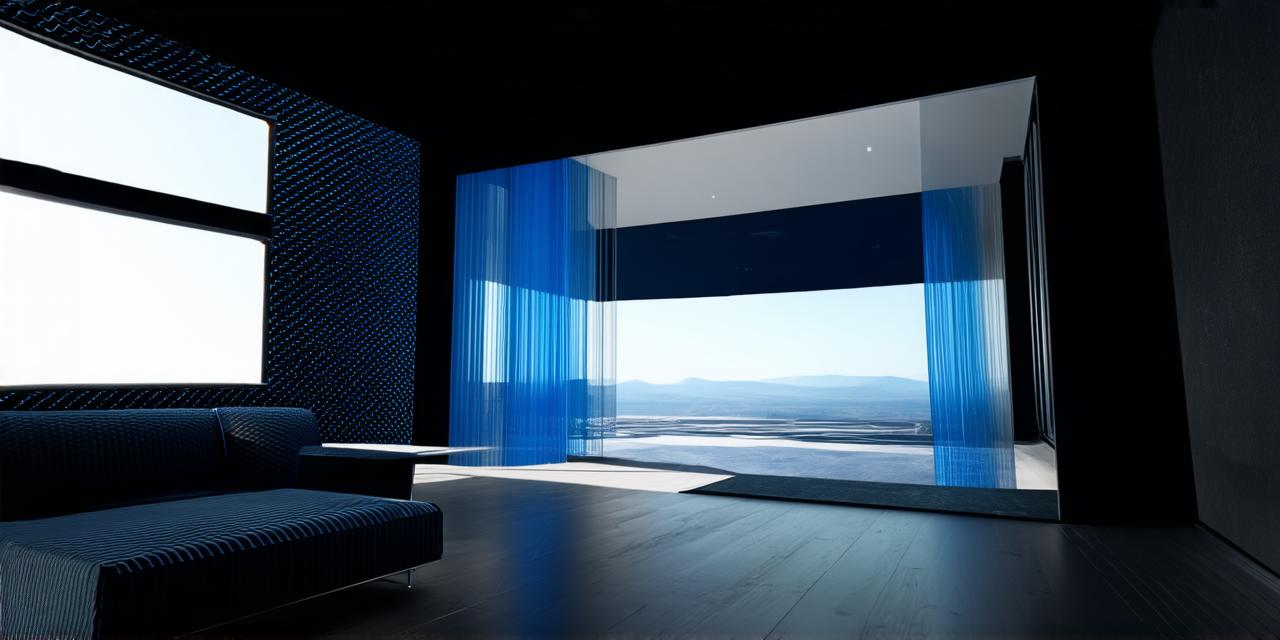
Unity is one of the most popular game engines used by developers worldwide. One of its key features is the ability to create interactive environments that are both visually stunning and engaging for users. In this article, we will walk you through the process of creating a room in Unity 3D, including tips and tricks for optimizing your workflow and making the most out of your creativity.
Before Diving In: Understanding the Basics of Room Creation in Unity
Before you start building your own room in Unity, it’s important to have a solid understanding of the basics. This includes familiarizing yourself with key concepts such as scene setup, object placement, and lighting.
Scene Setup: The Foundation for Your Room
The first step in creating a room in Unity is setting up the scene. This involves creating a new project, selecting the appropriate template, and configuring the basic settings such as resolution, aspect ratio, and frame rate.
Object Placement: The Keys to Successful Room Creation
Object placement is one of the most critical aspects of room creation in Unity. To create a believable and engaging environment, it’s important to carefully consider the placement of each object within the scene.
Use a combination of prefabricated and custom-built objects to create a more realistic environment. Pay attention to scale and proportion when placing objects. It’s important to ensure that everything in the room looks and feels consistent. Don’t be afraid to experiment with different arrangements and configurations to find what works best for your vision.
Lighting: The Heart of Your Room
Lighting is another critical aspect of room creation in Unity. Proper lighting can make or break a scene, and it’s important to pay attention to the details when setting up your lighting environment.
Use a combination of natural and artificial light sources to create a more believable environment. Pay attention to the placement of each light source. It’s important to ensure that the light is casting realistic shadows and highlights on the objects in the scene. Don’t be afraid to experiment with different lighting configurations to find what works best for your vision.
Creating Your Room: A Step-by-Step Guide
Now that we have covered the basics of scene setup, object placement, and lighting, it’s time to start building your own room in Unity. In this section, we will provide a step-by-step guide to help you get started.
Step 1: Set Up Your Scene
The first step in creating your room is setting up the scene. This involves creating a new project, selecting the appropriate template, and configuring the basic settings such as resolution, aspect ratio, and frame rate.
Step 2: Create Your Room Layout
The next step is to create the layout for your room. This involves placing furniture, decor, and other objects in the scene.
Use a combination of prefabricated and custom-built objects to create a more realistic environment. Pay attention to scale and proportion when placing objects. It’s important to ensure that everything in the room looks and feels consistent. Don’t be afraid to experiment with different arrangements and configurations to find what works best for your vision.
Step 3: Set Up Lighting
Lighting is another critical aspect of room creation in Unity. To set up lighting for your room, follow these steps:
- Create a new light source by going to GameObject > Lighting > Light.
- Position the light source within the scene.
- Adjust the settings for the light source, including intensity, color temperature, and shadow quality.
- Add additional light sources as needed to create the desired lighting effect.
Step 4: Add Finishing Touches
Once you have built the basic layout for your room and set up the lighting, it’s time to add finishing touches such as textures, materials, and special effects.
Use high-quality textures and materials to create a more realistic environment. Experiment with different shaders and special effects to create unique visuals. Pay attention to details such as reflections and shadows to make the scene feel more immersive.
Creating a Room in Unity 3D: FAQs
Q: What is the best way to start creating a room in Unity?
The best way to start creating a room in Unity is by setting up the basic environment, including scene setup, object placement, and lighting. From there, you can start building the layout, adding finishing touches, and experimenting with different elements to create your desired environment.
Q: How do I ensure that my objects look and feel consistent within my room?
To ensure that your objects look and feel consistent within your room, pay attention to scale and proportion when placing them in the scene. You can also use textures and materials to add visual interest and depth to your environment.
Q: What are some tips for setting up lighting for my room?

When setting up lighting for your room, use a combination of natural and artificial light sources to create a more believable environment. Pay attention to the placement of each light source to ensure that it is casting realistic shadows and highlights on the objects in the scene. Don’t be afraid to experiment with different lighting configurations to find what works best for your vision.
Q: How do I add finishing touches to my room?
To add finishing touches to your room, use high-quality textures and materials to create a more realistic environment. You can also experiment with different shaders and special effects to create unique visuals. Pay attention to details such as reflections and shadows to make the scene feel more immersive.
Summary: Creating a Room in Unity 3D
Creating a room in Unity 3D is an exciting and rewarding process that allows you to unleash your creativity and bring your vision to life. By following the tips and best practices outlined in this article, you can create a beautiful and engaging environment that captivates users and keeps them coming back for more.

