Introduction:
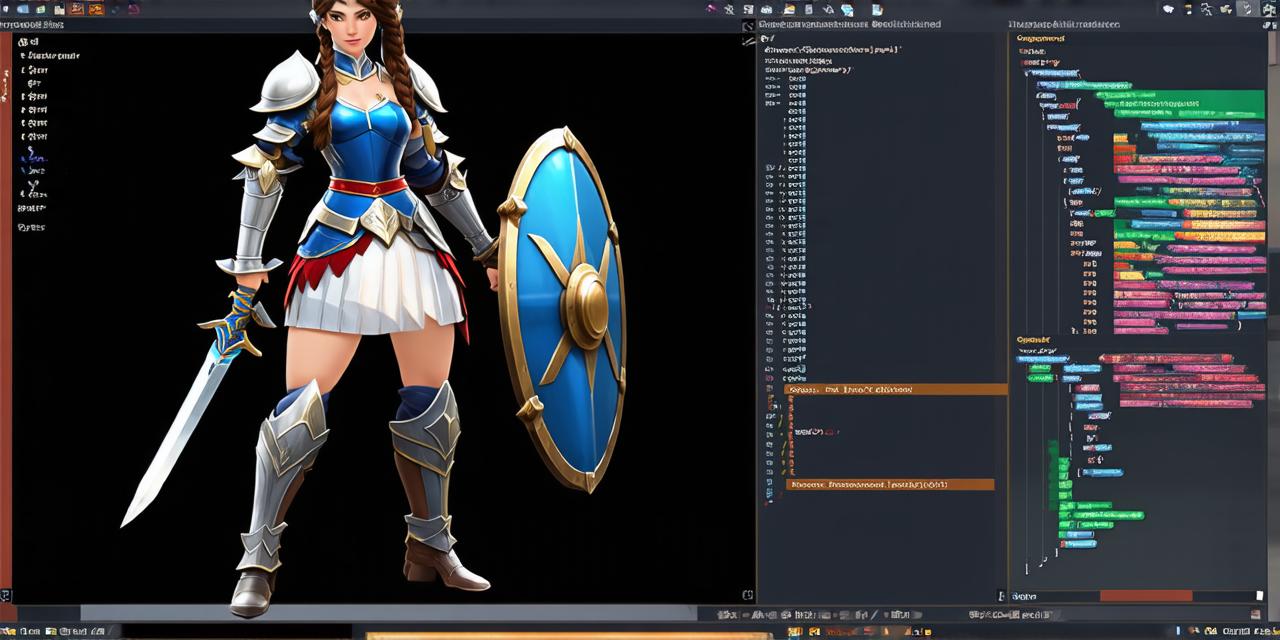
Creating characters is an essential part of any game development process. It involves designing, rigging, and animating a digital representation of a character that will interact with the players in a game.
In this article, we will explore how to create a character in Unity 3D, one of the most popular game engines used by developers worldwide. We will also discuss some best practices and tips to help you make your characters more engaging and immersive.
1. Designing the Character:
The first step in creating a character is designing it. This involves sketching out the character’s appearance, pose, and movement. You can use software like Photoshop or Sketch to create a concept art of your character.
Once you have a design, you can import it into Unity and create a 3D model of the character using a mesh editor like Blender.
When designing a character, it’s important to consider its role in the game world. Will it be a hero or villain? What are its strengths and weaknesses? These factors will help you create a believable and engaging character that players will want to interact with.
Additionally, consider the game’s theme and art style when designing your character. This will ensure that the character fits seamlessly into the game world.
2. Rigging the Character:
Rigging is the process of creating a skeleton for the character that will allow you to animate it. In Unity, you can use the built-in rigging tools to create a skeleton for your character.
You will need to define the joints and bones of the character, as well as their relationships to each other. Once you have created a skeleton, you can assign it to your 3D model.
To make the rigging process easier, you can use pre-made assets like humanoid rigs. These are pre-defined skeletons that you can import into Unity and customize for your character.

Additionally, you can use animation tools in Unity to automatically create a basic skeleton for your character based on its design.
3. Animating the Character:
Animating is the process of bringing your character to life by creating movements and actions. In Unity, you can use the built-in animation tools to create animations for your character.
You will need to define keyframes for each movement, as well as the timing and duration of each movement. Once you have created an animation, you can apply it to your character using the Animator component.
When animating your character, it’s important to consider its actions and movements within the game world. Will it be walking, running, or jumping? What are its gestures and expressions when interacting with other characters? These factors will help you create a more realistic and engaging character.
Additionally, you can use animation layers in Unity to create complex animations that combine multiple movements.
4. Texturing and Lighting:
Texturing is the process of adding colors and patterns to your character’s surface to make it look more realistic. In Unity, you can use texture maps to add textures to your character.
You will need to create or find texture maps for your character’s skin, clothing, and accessories.
Lighting is also an essential part of creating a realistic character. You will need to define the lighting in your scene to make your character look more realistic. This includes using different types of lights like point lights, spotlights, and ambient light to create shadows and highlights on your character’s surface.
When texturing and lighting your character, it’s important to consider the game’s art style and theme. This will ensure that your character looks consistent with the overall look and feel of the game.
Additionally, you can use post-processing effects in Unity to further enhance the texture and lighting of your character.
5. Adding Interactions:
Adding interactions to your character allows it to interact with other characters and objects within the game world. In Unity, you can use scripts to define these interactions.
For example, you can create a script that allows your character to pick up objects or interact with non-playable characters (NPCs).
To make interactions more engaging, it’s important to consider the context of each interaction within the game world. What is the purpose of the interaction? How does it advance the story or gameplay? These factors will help you create a more immersive and interactive character.
Additionally, you can use physics simulation in Unity to make interactions feel more realistic.
6. Optimizing for Performance:
Optimizing your character for performance is essential for ensuring that it runs smoothly within the game world. This includes reducing the number of polygons used in your 3D model, compressing textures, and minimizing animation complexity.
To optimize your character for performance, you can use profiling tools in Unity to identify performance bottlenecks. Additionally, you can use LOD (level of detail) techniques to reduce the number of polygons used in your 3D model based on the player’s distance from the character. This will help improve load times and reduce the strain on system resources.
Summary:
Creating a character in Unity 3D requires careful planning and attention to detail. By following best practices and tips, you can create a realistic and engaging character that players will want to interact with within your game world. Remember to consider the character’s role, design, rigging, animation, texturing and lighting, interactions, and performance when creating your character in Unity.

