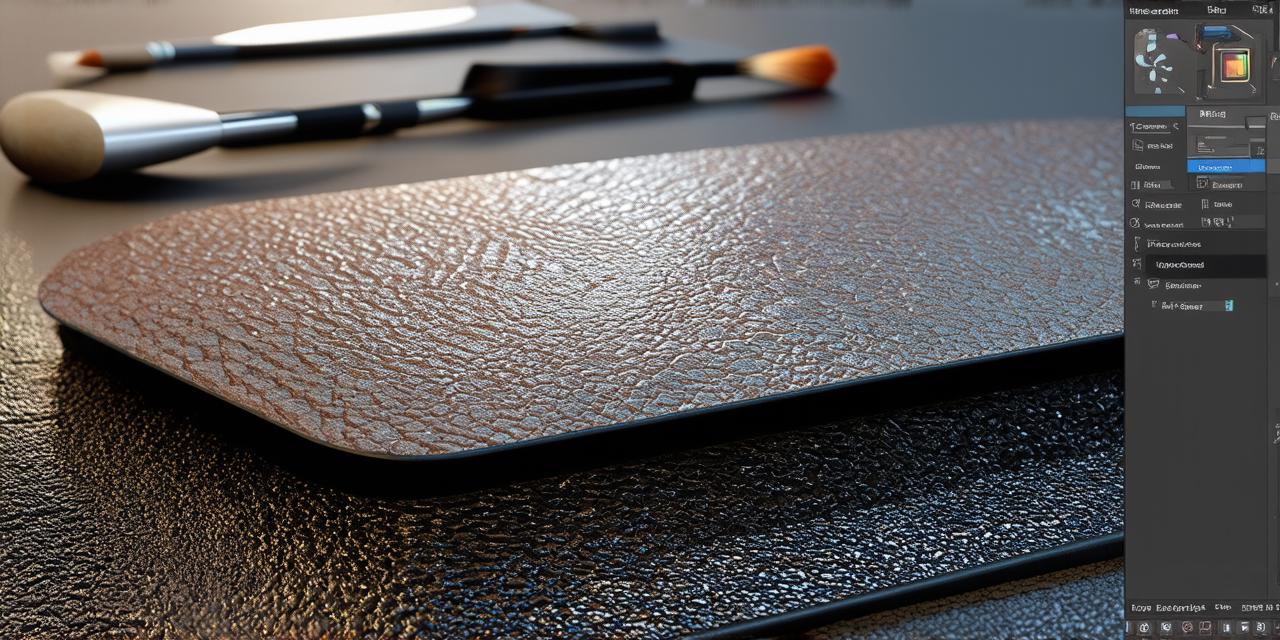
As an experienced Unity developer, you know that applying textures to your 3D models can significantly enhance their visual appeal and realism. However, this process can be time-consuming and overwhelming for beginners. In this guide, we will walk you through the steps of applying texture to a 3D model in Unity, including tips and tricks to optimize your workflow and achieve stunning results.
Prerequisites
Before diving into the steps, it’s important to have a basic understanding of Unity and 3D modeling concepts. You should also have a computer with Unity installed and a 3D model that you want to apply texture to. If you are new to Unity, we recommend starting with the official tutorials on their website.
Step 1: Import Texture into Unity
The first step in applying texture to your 3D model is to import the texture into Unity. To do this, go to Assets > Import Package and select the package containing your texture. You can also import individual textures by dragging them directly into the Project window.
Once imported, you will see the texture in the Texture folder of the Assets menu. You can preview it using the 2D or 3D viewport.
Step 2: Assign Texture to Mesh Renderer
The next step is to assign the texture to the mesh renderer of your 3D model. To do this, select the mesh renderer in the Hierarchy window and drag the texture onto it. This will apply the texture to the entire mesh.
If you want to apply the texture only to specific parts of the mesh, you can use material properties to customize the mapping. For example, you can use a UV map or a texture atlas to apply textures to specific areas of the mesh.
Step 3: Adjust Texture Settings
Once you have assigned the texture to the mesh renderer, you can adjust various settings to optimize its appearance. These settings include:
- Stretch and Squeeze: This setting allows you to stretch or squeeze the texture to fit the size of the mesh. If you want the texture to fill the entire mesh without distorting it, set this value to 1.
- Tile: This setting allows you to repeat the texture over the surface of the mesh. If you want to apply the texture only once, set this value to 0.
- Rotate: This setting allows you to rotate the texture on the mesh. If you want the texture to align with the mesh’s orientation, set this value to 0.
- Wrap: This setting allows you to wrap the texture around the edges of the mesh. If you want the texture to repeat at the edges, set this value to Wrap. If you want the texture to be seamless at the edges, set this value to Clamp.

Step 4: Apply Lighting and Shadows
Lighting and shadows can greatly enhance the realism of your 3D model. To apply lighting to your model, go to Window > Rendering > Lighting and select the type of light you want to use (e.g., directional, ambient). You can also adjust various settings such as intensity, color, and position to achieve the desired effect.
To add shadows to your model, go to Window > Rendering > Shadows and select the shadow mapping technique you want to use (e.g., raycasting, baked). You can also adjust various settings such as resolution and samples to optimize performance.
Step 5: Render and Export
Once you have applied texture, lighting, and shadows to your model, you can render and export it for use in your project. To do this, go to File > Build Settings and configure the build settings according to your requirements (e.g., resolution, format). You can also add post-processing effects such as bloom or vignette to enhance the final output.
FAQs
What is a UV map?
A UV map is a 2D representation of the surface of a 3D mesh. It allows you to apply textures to specific areas of the mesh by mapping them onto the UV coordinates.
How do I create a UV map?
You can create a UV map using 3D modeling software such as Blender or Maya. To do this, select the mesh and go to UV > Smart UV Project. This will generate a UV map that fits the mesh’s surface.
Can I apply texture to a specific part of the mesh?
Yes, you can apply texture to a specific part of the mesh by using material properties such as UV mapping or texture atlas.
How do I optimize my workflow for applying texture to multiple meshes?
To optimize your workflow for applying texture to multiple meshes, you can create a material template that includes all the necessary settings and apply it to all the meshes. You can also use batch processing tools such as Unity Asset Bundle Builder to automate the process.
How do I fix texture stretching or distortion?
To fix texture stretching or distortion, you can adjust the Stretch and Squeeze setting in the material inspector. You can also use UV mapping or texture atlas to apply textures only to specific areas of the mesh.
Conclusion
Applying texture to a 3D model in Unity is a crucial step in creating realistic and visually appealing scenes. By following these steps, you can achieve stunning results with minimal effort. With practice and experimentation, you can master this technique and take your 3D modeling skills to the next level.

